VSAT Installation using ISITE SOFTWARE on iDirect 3100 Modem
13th Apr 2010 | category: Wireless Networks | Hits: 964
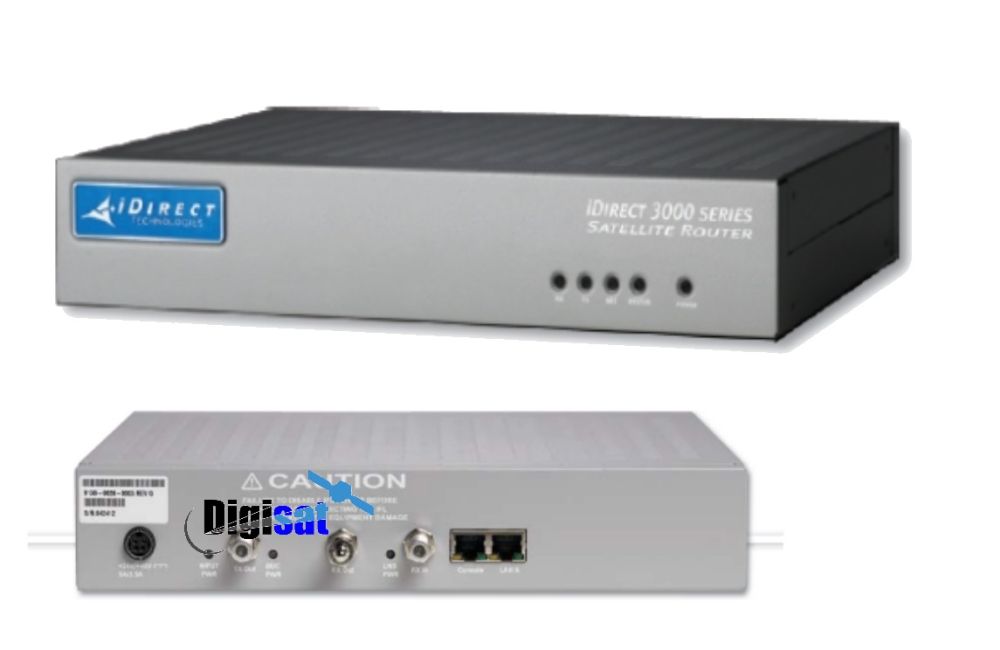
Of recent I had VSAT installation using iDirect 3100 Modem and with help of iSite Software.
It was great to get back in the field after 1year of abandoning VSAT installations, network stuff and systems. Well the installation was a success and I therefore decided to share with you my two days in the field.
Well today let us talk about VSAT installation using iDirect modem and iSite Software for uploading the option file.
iDirect's satellite-based IP communications technology enables constant connectivity for voice, video and data applications in diverse and challenging areas. The iDirect 3100 modem is known to be cost effective, reliable, and highly scalable for broadband business class IP router. It has a RX (receive) and TX (transmit).
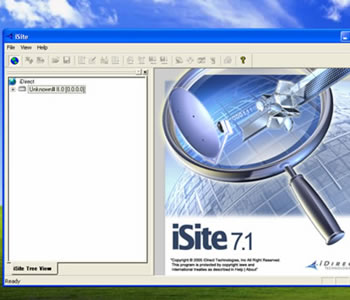
iSite Software: Is used for uploading option files into the iDirect modem, dish alignment to attain the best signal strength.
This article mainly focuses on how you can upload your option file into 3100 iDirect modem using iSite Software. Make sure the version of iSite software supports the option file provided to you.
In order to configure your iDirect 3100 series modem successfully make sure you have the following:-
- An Option file from your VSAT provider.
- A Crossover Ethernet cable or you can use a straight through Ethernet cable (2) and hub or switch in place.
- An updated version of iSite Software.
- Of course your laptop and the modem.
- IP Address for the modem and your computer
1. Install your iSite Software onto the computer you will use during the configuration process.
2. Connect your Ethernet cable into a 3100 modem LAN port and the other side into your computer. If you have used a crossover cable connect computer to modem and if it’s a straight through then connect through a hub or switch to the modem.
3. Configure the given IP Address into your computer. Configure your computer to one digit above the modem IP and prove connectivity by pinging “ping”.
4. Open your iSite software (Note: Make sure your computer firewall is off until when you finish configuring your modem. This usually blocks some broadcast messages important in configuring the modem).
 iSite software
5. Where you see 0.0.0.0 IP, Right Click on modem IP Address and select login.
Enter the IP of the modem and enter the default password and login as Admin.
Default Username: admin and Password: P@55w0rd!
6. After logging into modem successfully, select the “Download Option from Disk” option load an option file from Disk as provided to you by the VSAT provider “OptionFile.rar”
7. After loading the option file reset/reboot the modem (the modem should take atlest 40seconds to come up.
The modem now assumes the IP’s supplied by the VSAT provider and the password will change as per configured in the optionfile.
Since you have successfully configured the modem, connect the RX cable onto the modem (LNB Port).
NOTE: Ensure the TX cable is not connected.
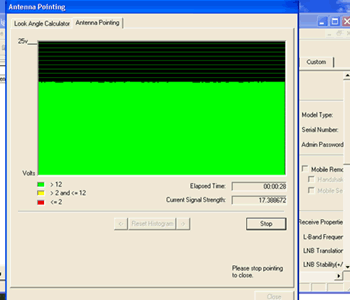
 Antenna Pointing
8. Click on Antenna Pointing icon then start the program of the signal search which should start in 10 seconds. Provided all the paramenters (elevation & Azimuth, remote satellite) you should receive a signal in less than 30mins.
NOTE:Time to get right and strong signal will vary according where you’re setting the VSAT, interference problems, remote satellite access and so many other problems likely to occur.
9. When signal is confirmed stop the signal program. Disconnect the RX cable and reconnect the TX cable. When confirmed to start press the start button and change the power setting as directed from the VSAT provider.
Once the saturation level is achieved then the provider will reset the max power of the terminal.
Stop the compression test when directed by the provider, then power the modem then re-power with TX and TX cables connected.
10. Ensure the RX light goes green after restarting.
The VSAT provider will then multicast to the modem the latest version of software after which the modem will reset.
After reset the modem the following lights should be green Status, RX, TX once the unit locks to the network the Net light will go green on the front of the unit and the rear. The unit is then ready for use.
NOTE: Please keep the option file safe in case of a need to reload and please use iSite to perform local checks on the unit.