How to Installation Guide for Microsoft’s Windows 10
4th Nov 2018 | category: Software | Hits: 1122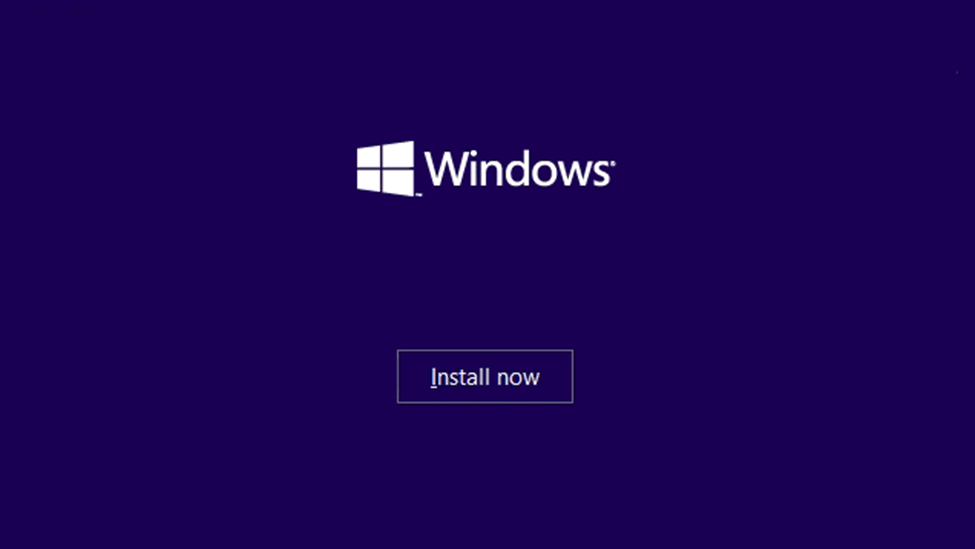
The final version of Windows 10 imminent sometimes this summer in the mean time you can download, install, and test the beta version also recognized as the beta – Windows 10 Technical Preview.
Now, if you are excited to install the the Windows 10 you first need to check if you have the basic system requirement to upgrade or install it. This includes 1GHz processor, 1GB RAM for 32-bit (2GB for 64-bit) and Hard disk space of 16 GB.
If you’re installing Windows 10 in your PC for the first time to clean install, you’ll have to perform an upgrade first. This is because you require license key to upgrade your Windows OS as Microsoft never makes it easy even if there’s a free version. Once performing the upgrade and activation to Windows10 your unique hardware ID is associated with activated Windows 10 license by Microsoft.
Windows 10 is only provided for free as an upgrade. So, keeping this things in mind you can follow the steps to install it:
* Download the IOS image of Windows 10 from Microsoft’s website or the easiest way is you can download the web installer from the same page and just chose to upgrade your PC.
* You need to burn this image in optical disk or you can also create a bootable USB flash drive to proceed. If you’re installing it on a regular personal computer with Windows OS already running on it, then you will be provoked immediately to start upgrading to Windows 10 operating System. Alternatively you can also attach the IOS image using the VM-Virtual Machine Software which you prefer for installation also assuming that it already has Windows OS installed in it.
* Now follow the basic installation steps which you do mostly by clicking the Next button and make sure to prefer upgrade when prompted.
Inquisitive to know the steps or guide to installing Windows 10. Just remember word Next!
Note: As the Windows 10 is released so you are required to have a valid Windows license key for prior versions installed Windows 7, Windows 8, or 8.1 to perform the upgradation process.
Installation process starts. First screen appears to you when you first boot the computer
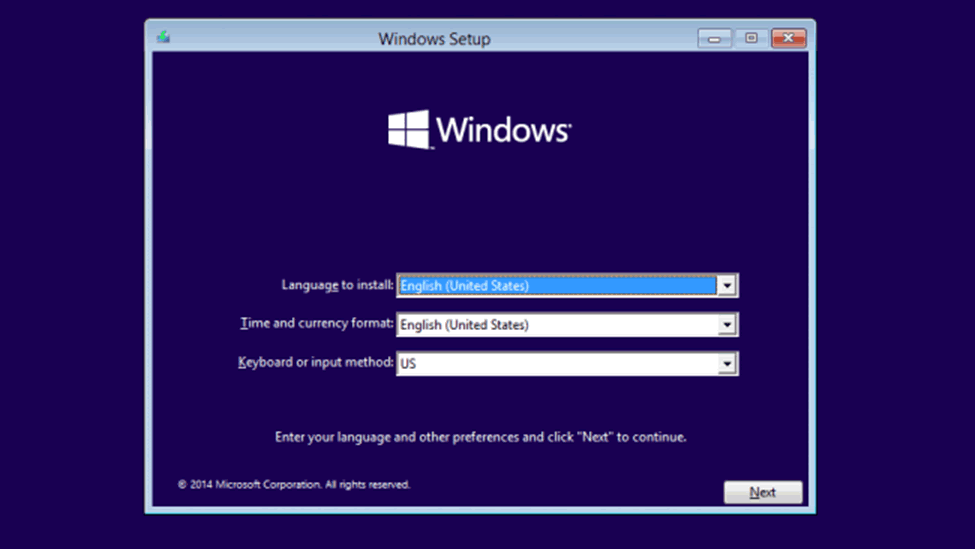 Windows Setup
As I told you, remember Next click it and you will be taken to the next screen that is Install now. Which requires clicking on it.
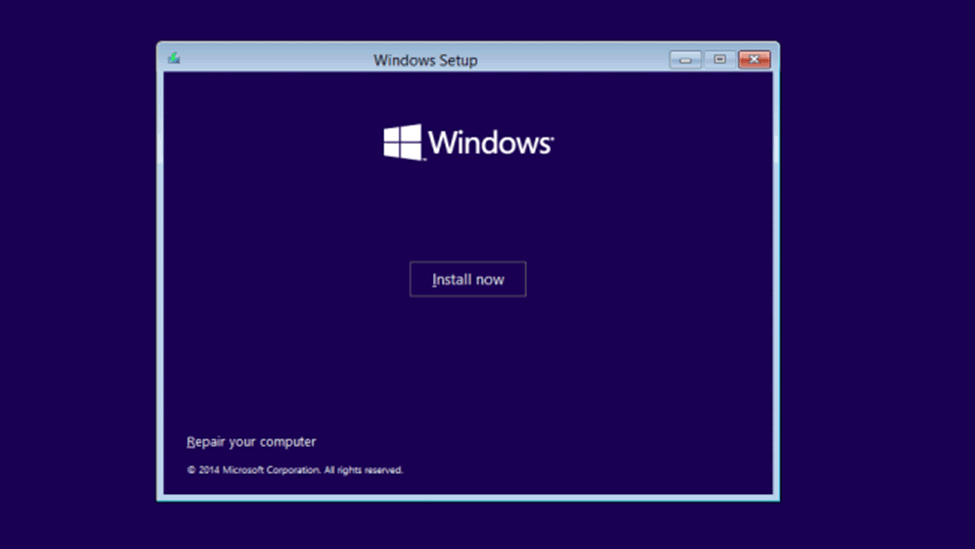 Start installing
After this screen appears you need to decide whether you upgrade Windows or install a new custom installation. If you are installing it in a test PC we prefer you should select Custom here.
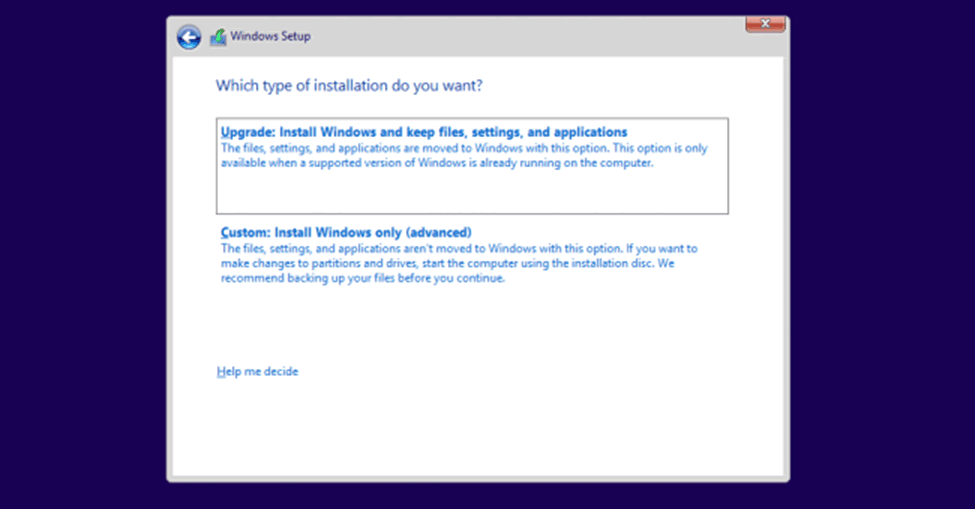 Select Custom
You can prefer to go with Upgrade the first time as the license key might not work first time.
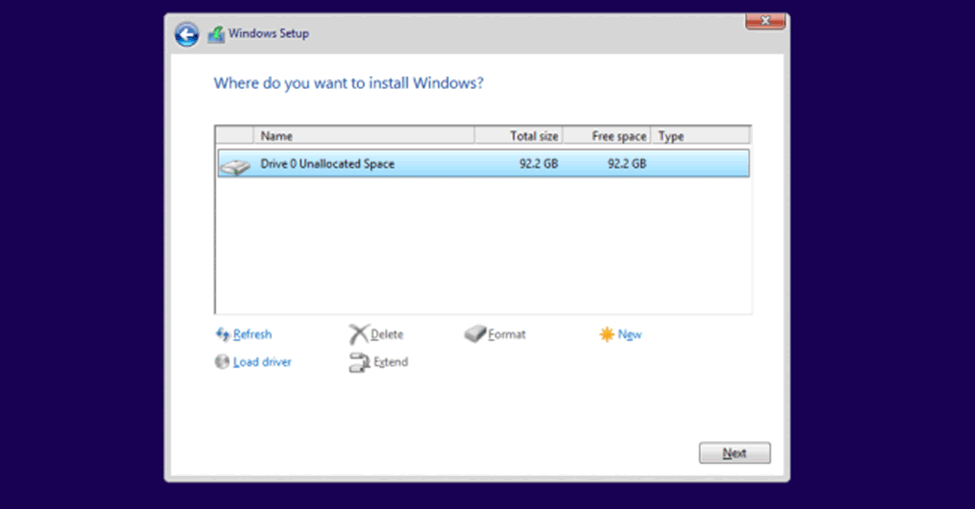 Partition
This screen will let you know which drive to pick to install Windows 10. If you are using Virtual Machine just click Next, otherwise you might need to delete or create partition.
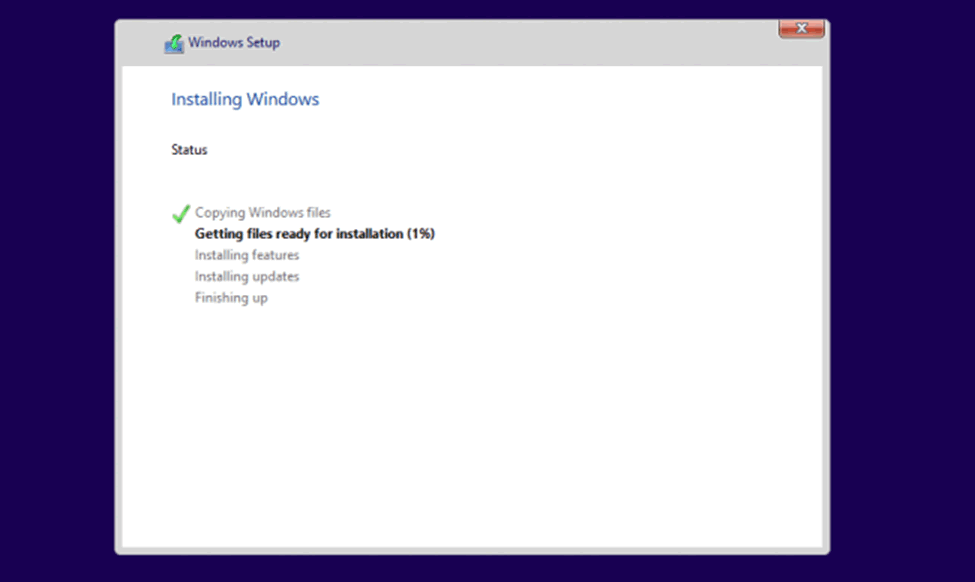 Installing Windows
Great, installation has started!
After completing all the steps shown in the above screen and once PC reboots again, you will be able to select preferred settings like whether windows update are enabled. If you use test PC we’d recommend to choose express settings.
If you really want to use the computer then choose custom.
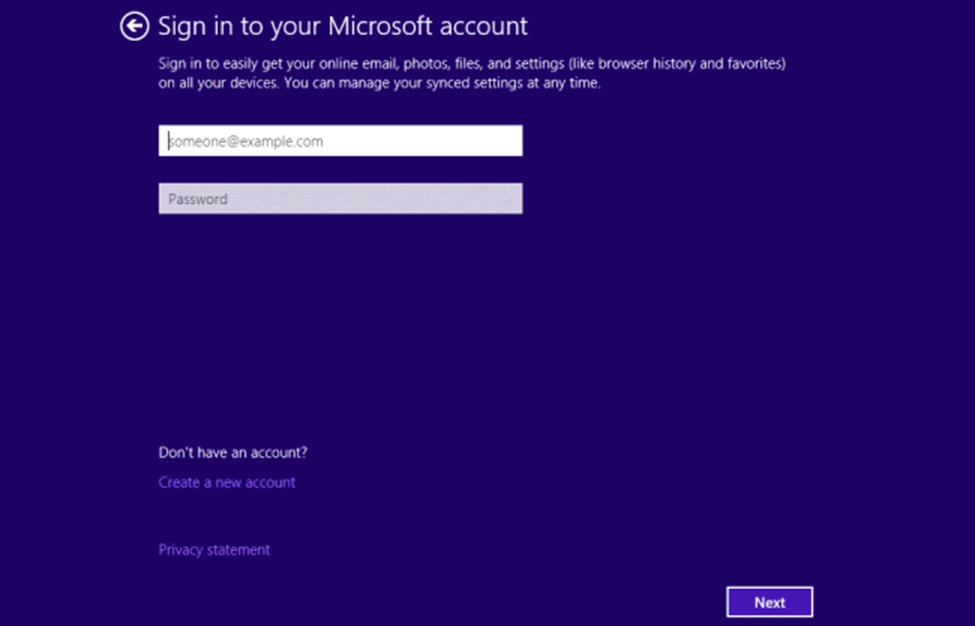 Sign into your account
Now, after completion of settings you can sign in to your Microsoft Account. We recomment to use Microsoft account or else you will not be able to use half of the new features.
Further after setting up the account properly you’ll be asked to verify it in the middle.
Now you will be asked how to setup the personal computer your way in the next steps.
You can also use OneDrive as it is nicely integrated into windows. Further you will be taken to the screen which will show you that finally apps are installing.
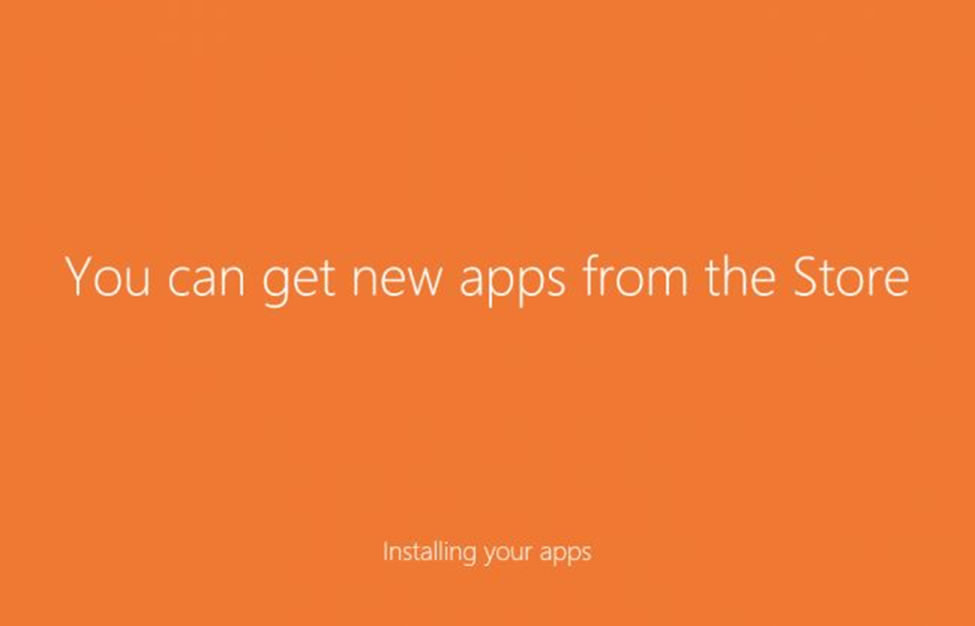 Installing Apps
After all the above steps ............phew!! your finally taken to the screen of Desktop!
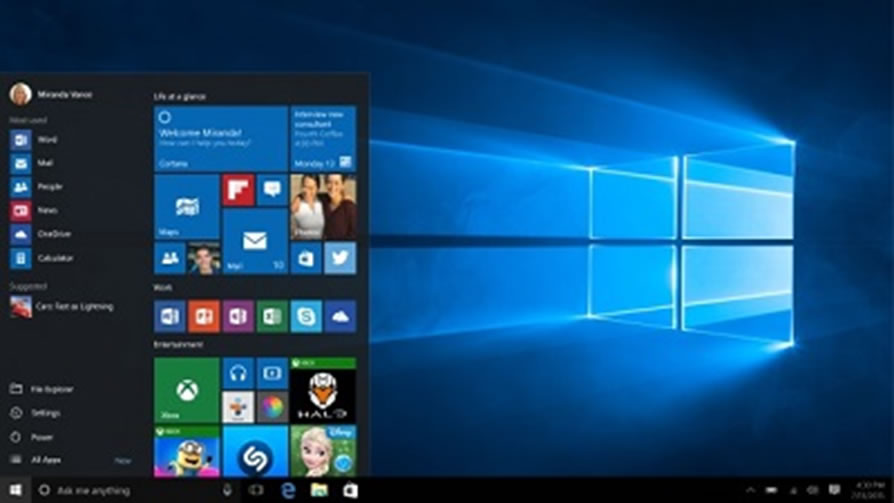 Successful Windows Installation
Now what are you still waiting for go! and Enjoy the latest features of Windows 10!