Creating Email Signature in RoundCube
6th Dec 2018 | category: Emails | Hits: 7021
In today's digital age, effective email communication plays a crucial role in professional interactions. One key aspect that adds a touch of professionalism and completeness to composed emails is the addition of a signature. In this article, we will guide you through the process of adding a signature in cPanel Roundcube.
This article will show you how to setup an email signature in RoundCube.
Step 1: Log in to Webmail
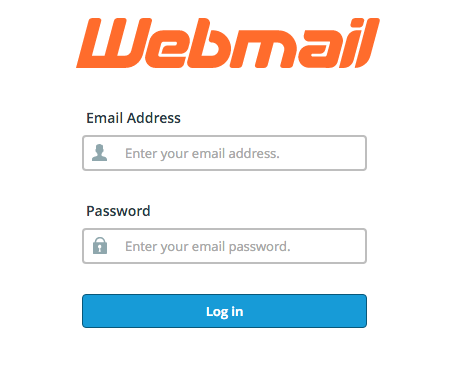
 Login screen to webmail
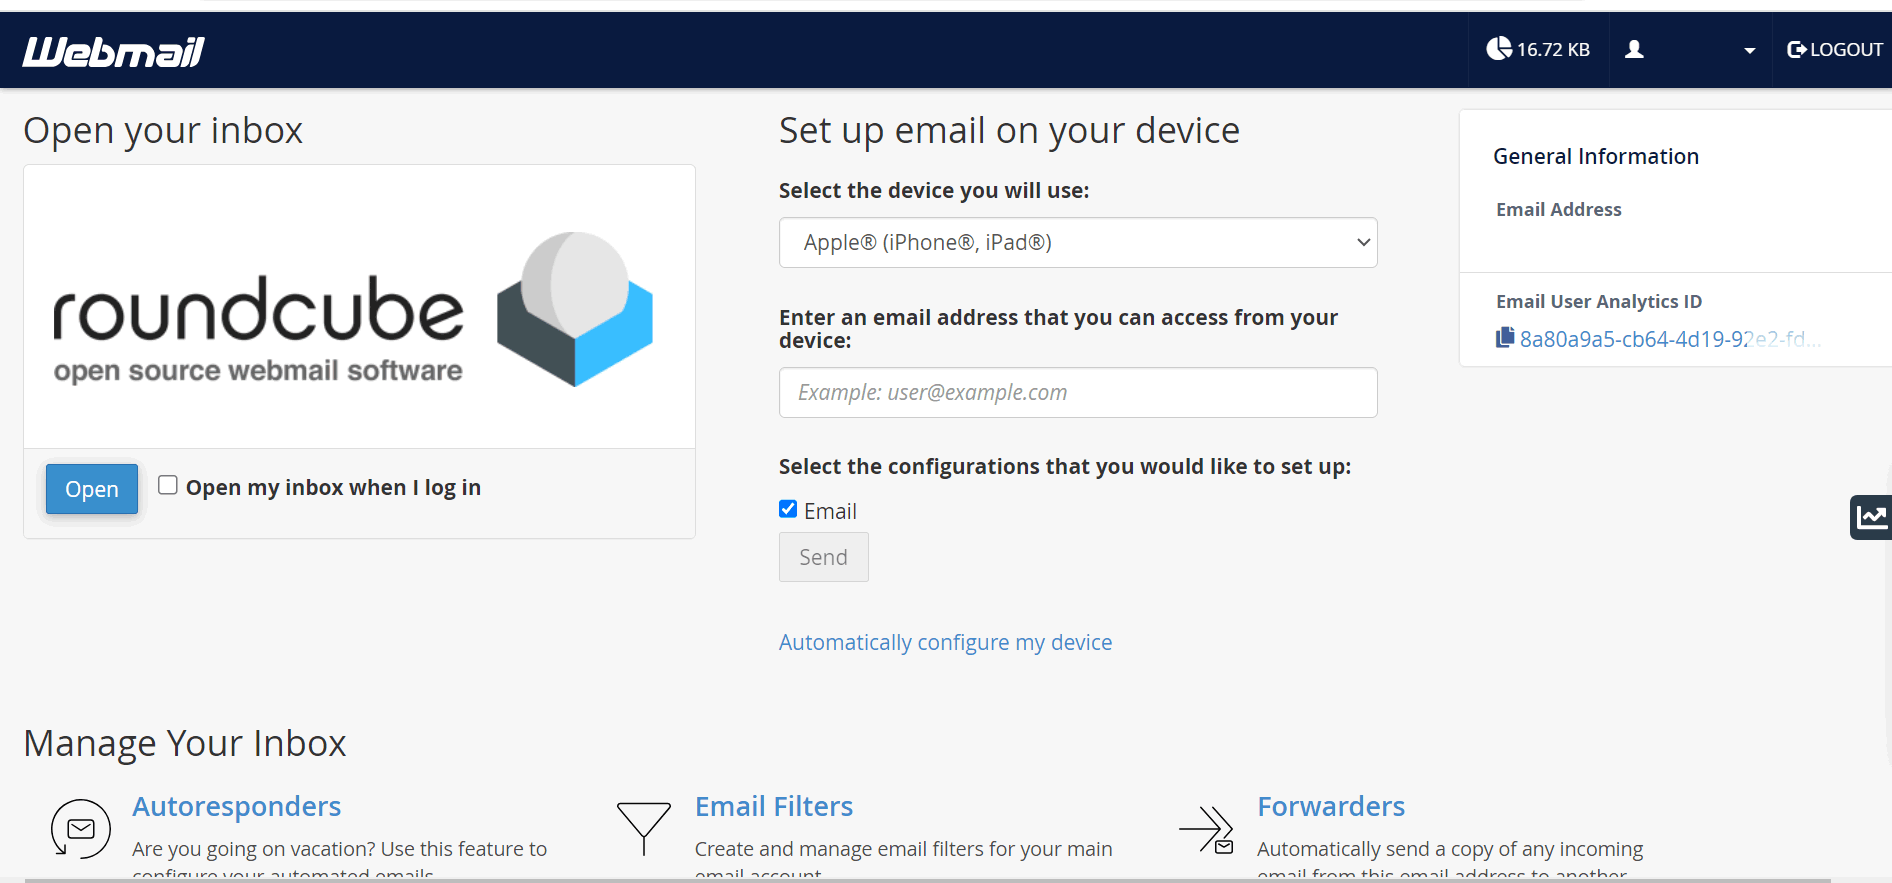
After successful login with your email and password, click on the RoundCube option, if not already your default webmail.
 Click on Roudcube
Step 2: Open Roundcube Settings
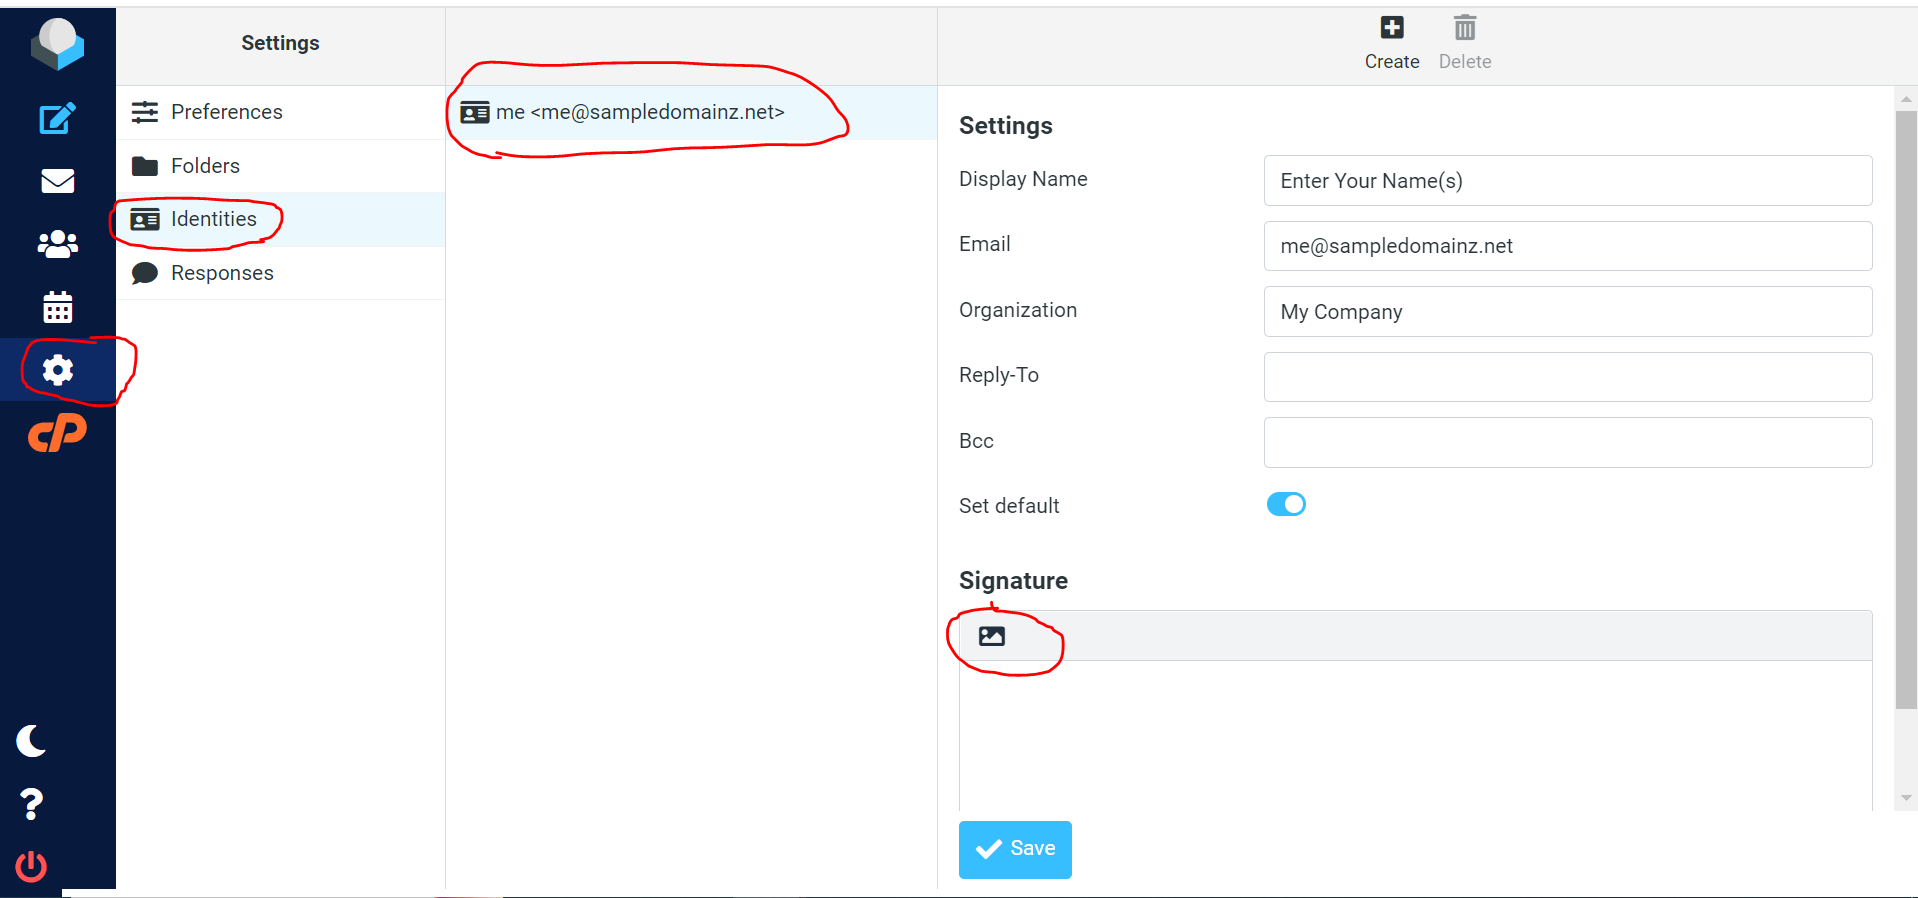
When you open your roundcube option, you will be taken default to emails. On your Left Hand Side (L.H.S) click on settings icon. And you will see options as per screenshot below.
Go ahead to click on Identities" then your email address to configure the signature.
NOTE: click on the image like icon under signature to get HTML Format. This will allow you to format your signature very well.
 Click on areas circled Red
Note: Any image that you use in the signature must be accessible through the Internet or it will not work. The safest way is to add the image by it’s URL.
Steps of creating a URL for an image;
• Enter an image search query. Type a word or phrase into the text box in the middle of the page.
• Click the "Search" icon. ...
• Find your image. Scroll through the results until you find one which matches your needs.
• Open the image. Click the image once to do so.
• Copy the image's URL. ...
• Paste the URL.
NOTE: Roudcube versions after 2023, provide an image upload option.
Step 3: Save Signature
You have now created your new email signature. The email signature will automatically appear when you compose an email your RoundCube webmail interface.
Note: If you also use a local mail client or a mobile device to send email messages, you will also need to add your signature in these applications as well.
Step 4: Activate Signature
When done saving your signature, please click on Preferences then Composing Messages.
Under composing messages, there two crucial settings you must activate to always display your signature in webmail.
- Compose HTML messages ::: change from never to always
- Place signature below the quoted message ::: Your choice if you want signature above the reply message or below
- Automatically add signature ::: choose always